TIPS for photographing YOUR OWN KIDS like a PRO!
FALL is HERE and that means it’s HOLIDAY CARD TIME!
Here are TIPS from my 11 years photographing HUNDREDS of families!
 Use a good camera IF you can (NOT your iphone) if you have one! The camera and lens are the first step in having images that look professional. If you have an SLR, the first thing you should buy to go with it is a portrait lens. That is a 50mm or 85mm lens with a wide maximum aperture (1.8 or lower). This allows you to shoot in lower light without flash and also helps get you that soft focus background called “bokeh“!
- Learn how to use your camera and all the basics of good portrait photography. There are endless classes online but here is a good one to start.
- STEP AWAY from the background! One more think about that pretty soft focus background that makes images look more professional! Find a background that is far away and it will be more soft focus. Don’t sit your kids up against a stone wall or it will be just as in focus as they are!
 Plan your wardrobe well! Photography is art. You are painting with light and with the colors you select for your canvas. That includes the setting you choose and your wardrobe. Keep in mind the background colors (either the green of September or the yellows, golds and browns of October/November). Select simple clothing that coordinates with those colors. Muted colors work best so that the attention in the image goes to the faces! Check out my Pinterest Page with WARDROBE INSPIRATION
 Find a fun location like a park with plenty of trees or a beach at sunset. Keep in mind the light has to be right if you don’t have any trees for shade. Home can be one of the best places if your child is shy. If you have more adventurous kids take your camera to the apple orchard or a new park and make it an adventure!
- If you have small children work around their NAP TIME! I would not bring a baby to a 6pm session as we all know that would not go well. Think about what time of day they tend to be the happiest and plan for then!
 Get the kids involved in wardrobe and location selection! Make it a fun family project so they are excited to participate instead of doing it because mommy said it’s time for pictures.
- Look for the LIGHT! Ideal times of day are early morning or late afternoon before the sun goes down but if you have to shoot mid day then look for shade and position your children on the edge where it is still bright but there is no light overhead causing harsh shadows on their face. Try under a tree, on a covered porch or sitting in an open doorway.
 If shooting INSIDE then position your kids in a chair or couch at a 45 degree toward a big window (that is not in direct sun). That will be the prettiest light. Do not put the window behind your subjects (such as sitting them with a picture window behind them) as they will be too dark and a flash will just reflect off the window. Try to use natural light and position them in a way that the light falls on them best. Use the angle I mentioned above or put them next to the window and then walk around them and watch how the light falls on them. This is a great way to find the magic light!
- You can also shoot with the sun behind your subjects for a bright and airy look
 with a halo of light around them. If you know how to use your camera manually then expose for the skin which will be darker than the background. It will make the background overexposed but beautiful! If not, just put your flash on and it will fill in the light on their face. Whatever you do, avoid direct light on their face (causes squinting and is unpleasant) or directly overhead!
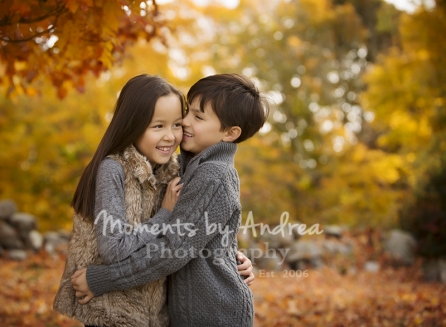
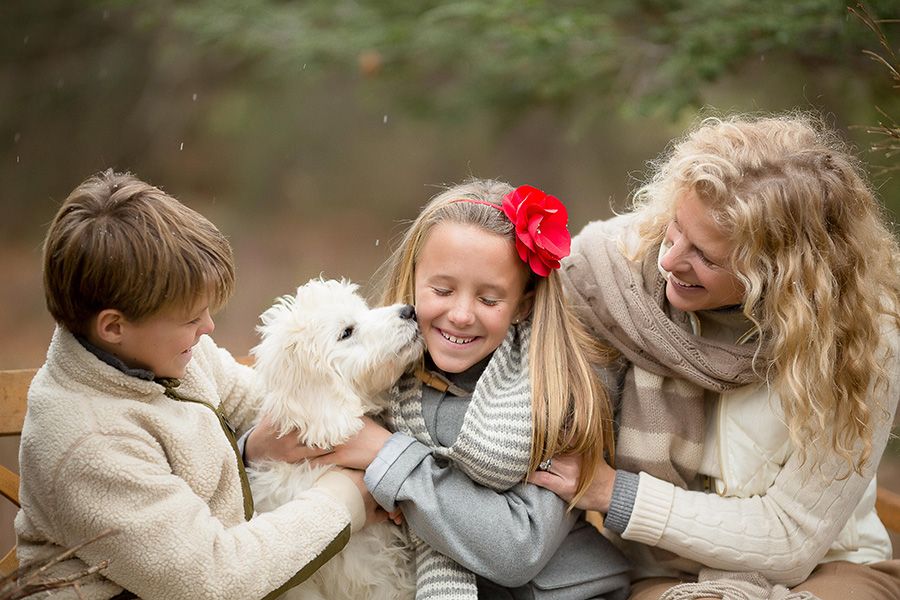
  Get them CLOSE and CONNECTED! Get them to play games with each other, like “ring around the rosie” or pile up. We play games for most of my sessions and the kids love it.
 Get DOWN on their level. Enter their world. We are always looking down at our children and while that can be good for close up shots of those big eyes looking up at you, the rest of the time images taken at their level will be more emotional and natural looking. For a more unique perspective, you could also try shooting up at them by placing them on a higher level or getting down below them. Try all different angles, it’s fun to see what you get!
- If you want to get creative you can shoot through something like a tree, branches, doorway etc to create a natural frame (even daddy’s legs) for the image!
 Get in CLOSE! Zoom in and capture the details of their expression and those cute little faces! This way you don’t have to worry about clutter in the background taking away from that face you adore!
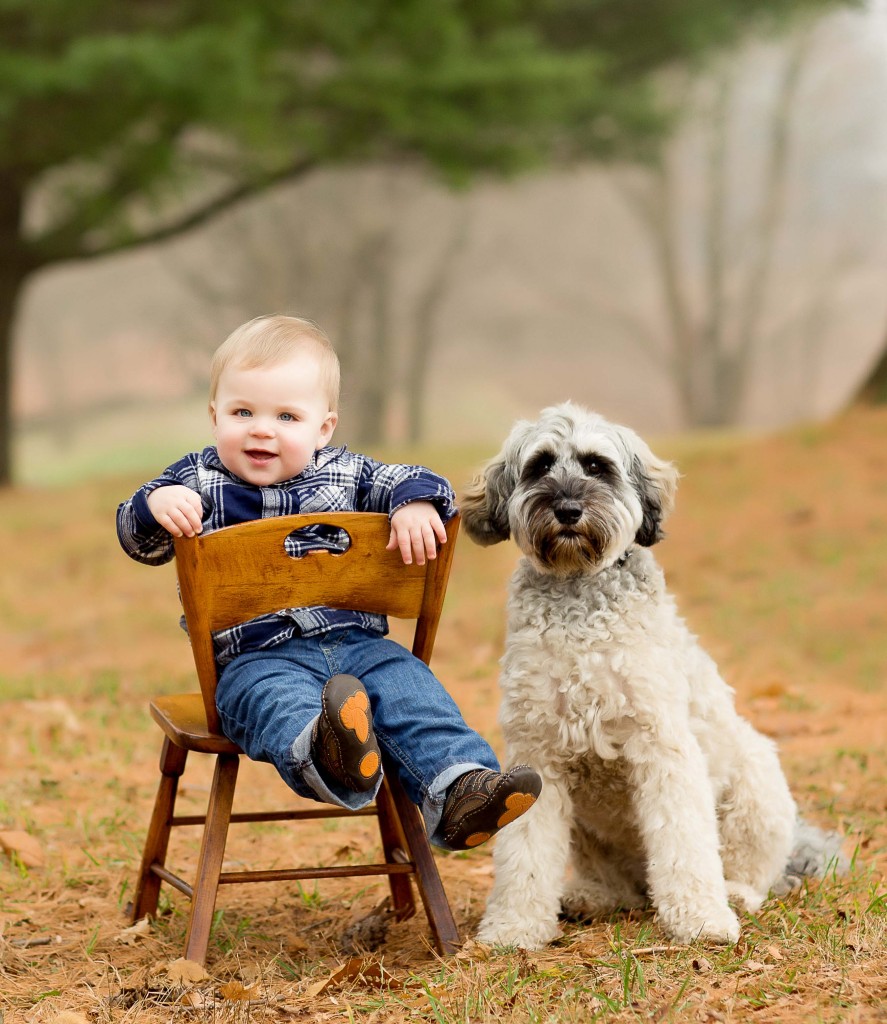 If your children are very little find something for them to GET IN (or ON) that is fun like a big basket, wagon, little chair or cozy arm chair. Just remember safety fist! Also consider giving them something to hold that you don’t mind having in the photo! A vintage toy or adorable stuffed animal or doll can be nice. Keep them distracted so they will sit still long enough to get a photo!
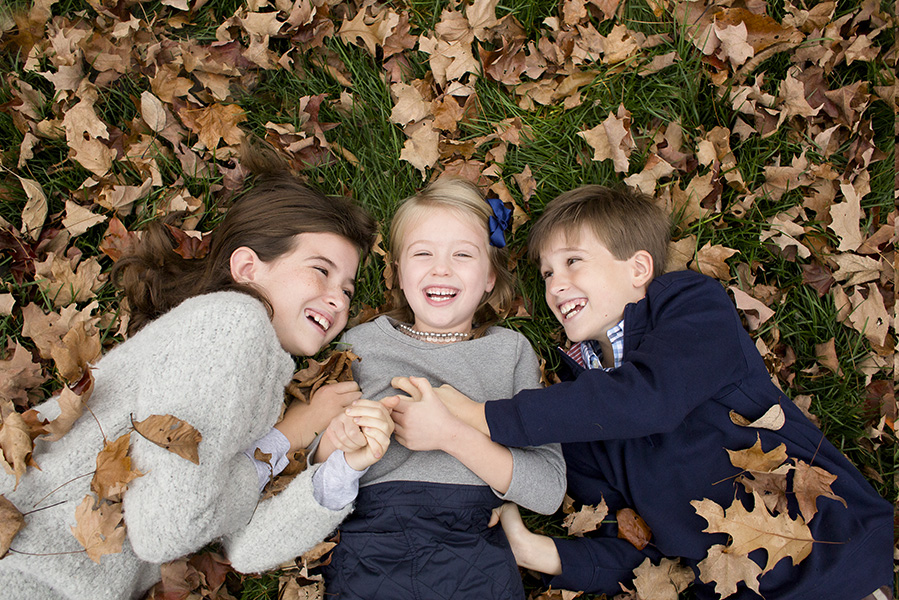
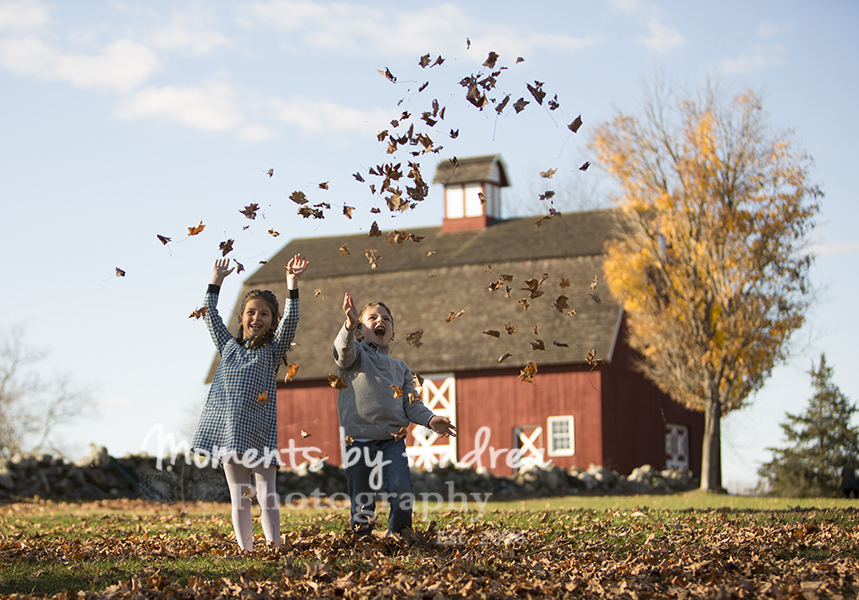
 HAVE FUN! Be SILLY with your kid and go for those NATURAL smiles! Gone are the days of saying “cheese” and getting those overdone fake smiles! Tell them a joke or say something that you know will make them laugh. For little ones, tell them something they know is wrong! Ex. “Tommy, want to hear me bark like a dog? OK! Here it goes… “meeoow!” Have fun and you will get those natural smiles you adore so much!
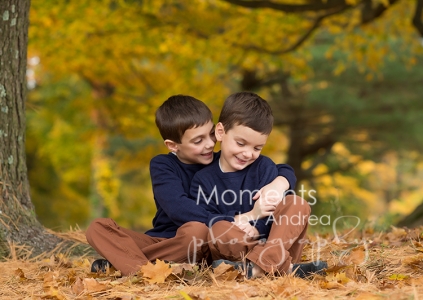 Be PATIENT! Photographing your own children can be a challenge but we are blessed to be in the digital world! We aren’t limited to a roll of 24 or 36 images so just keep shooting until you get those expressions that make you say “that’s so him/her”. I love it!
- And I personally think there is nothing wrong with a bribe! Ideally though it is more of a reward as if you make it fun you won’t have to bribe them. They will want to do it again next year too!
- Get a great shot but one kid looks better in another image? If you shoot a series of the same image you can do a head swap! Try the website www.retouchup.com for an inexpensive head swap!
- Read up or take a lesson! Have you read your camera’s manual? You would be surprised at what your camera can do! Take an afternoon to read the manual and play around with the settings! Really love photography? Take a lesson online! There are countless resources for online photography classes. You can even get them for free on YouTube!
- And don’t forget to keep the images safe! We don’t print as many pictures as we used to! Some of my clients admit to never printing any of their pics! Be sure to back them up on DVD and upload them to a lab that lets you store unlimited images! I have been uploading my images to Shutterfly monthly since I was pregnant with my first born in 2003. At the end of each month I go and pick my favorites to print! At the end of the year I pick a handful from each month to create an annual calendar! The family looks forward to the calendar every year!
- Whether our take the images yourself or hire a professional remember to BACK UP YOUR IMAGES and PRINT THEM at a reliable lab! Print quality varies greatly from lab to lab! I recommend www.mpix.com!


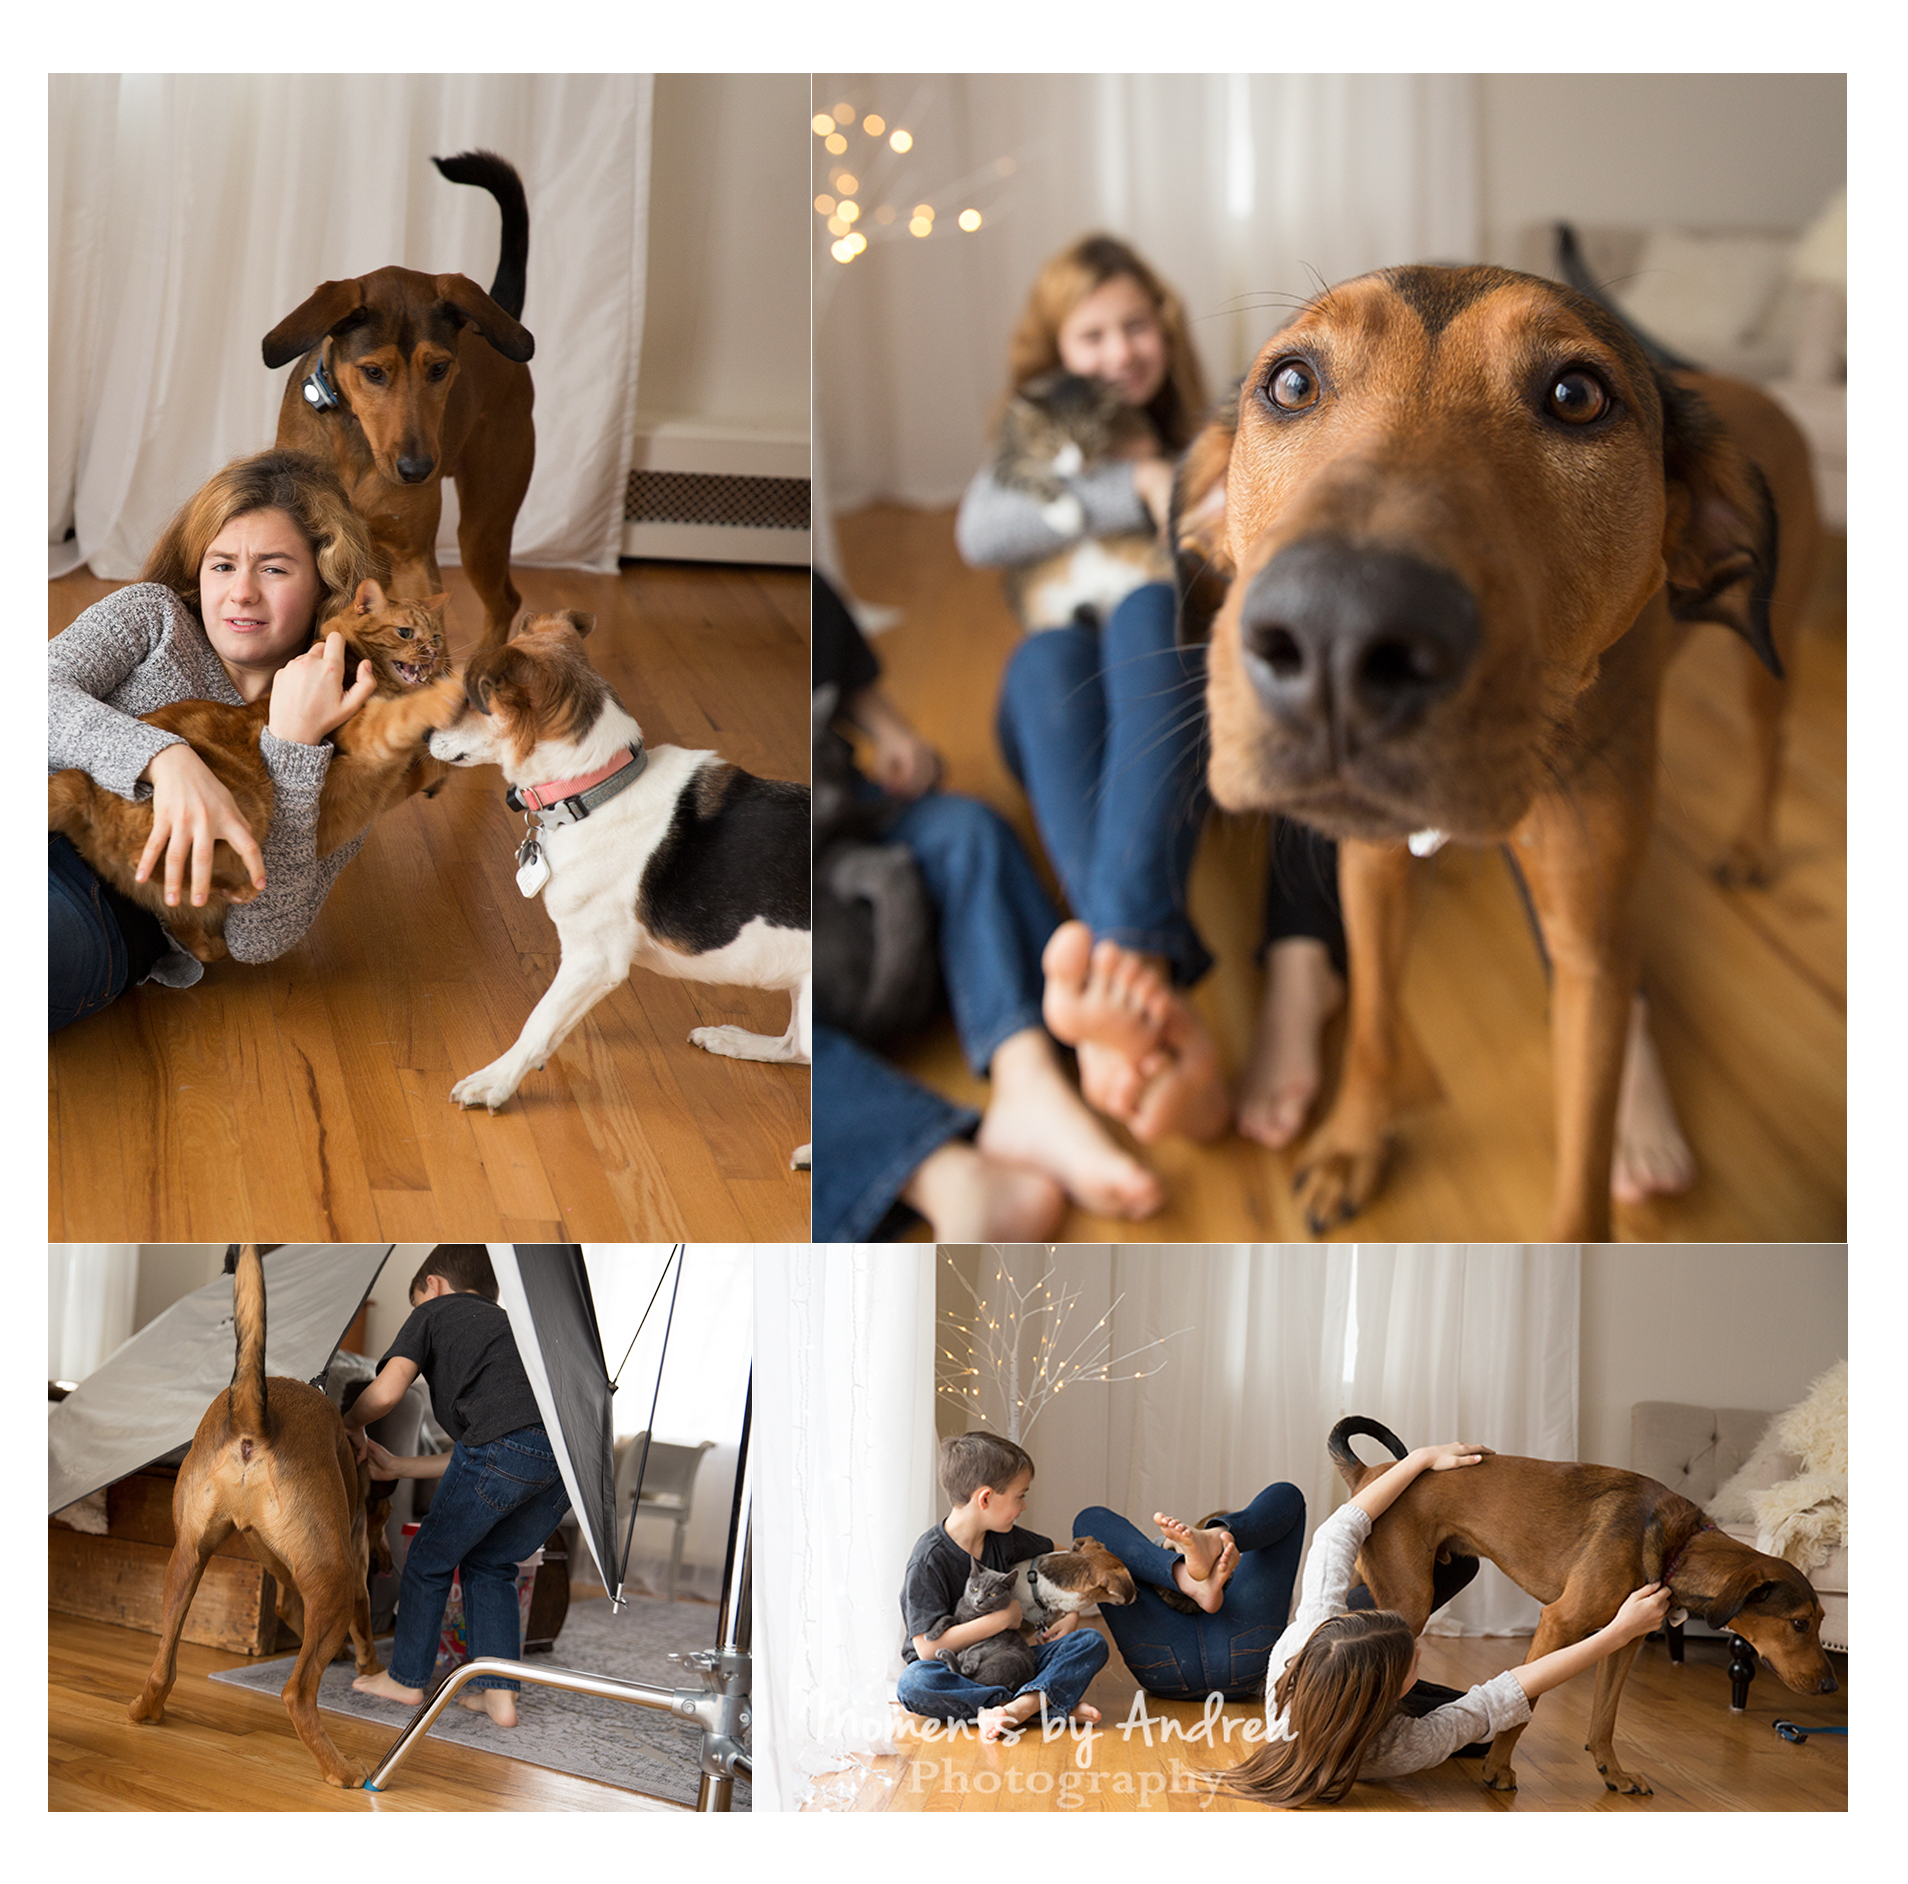
It’s NOT easy photographing your own kids, even when you are a professional photographer.
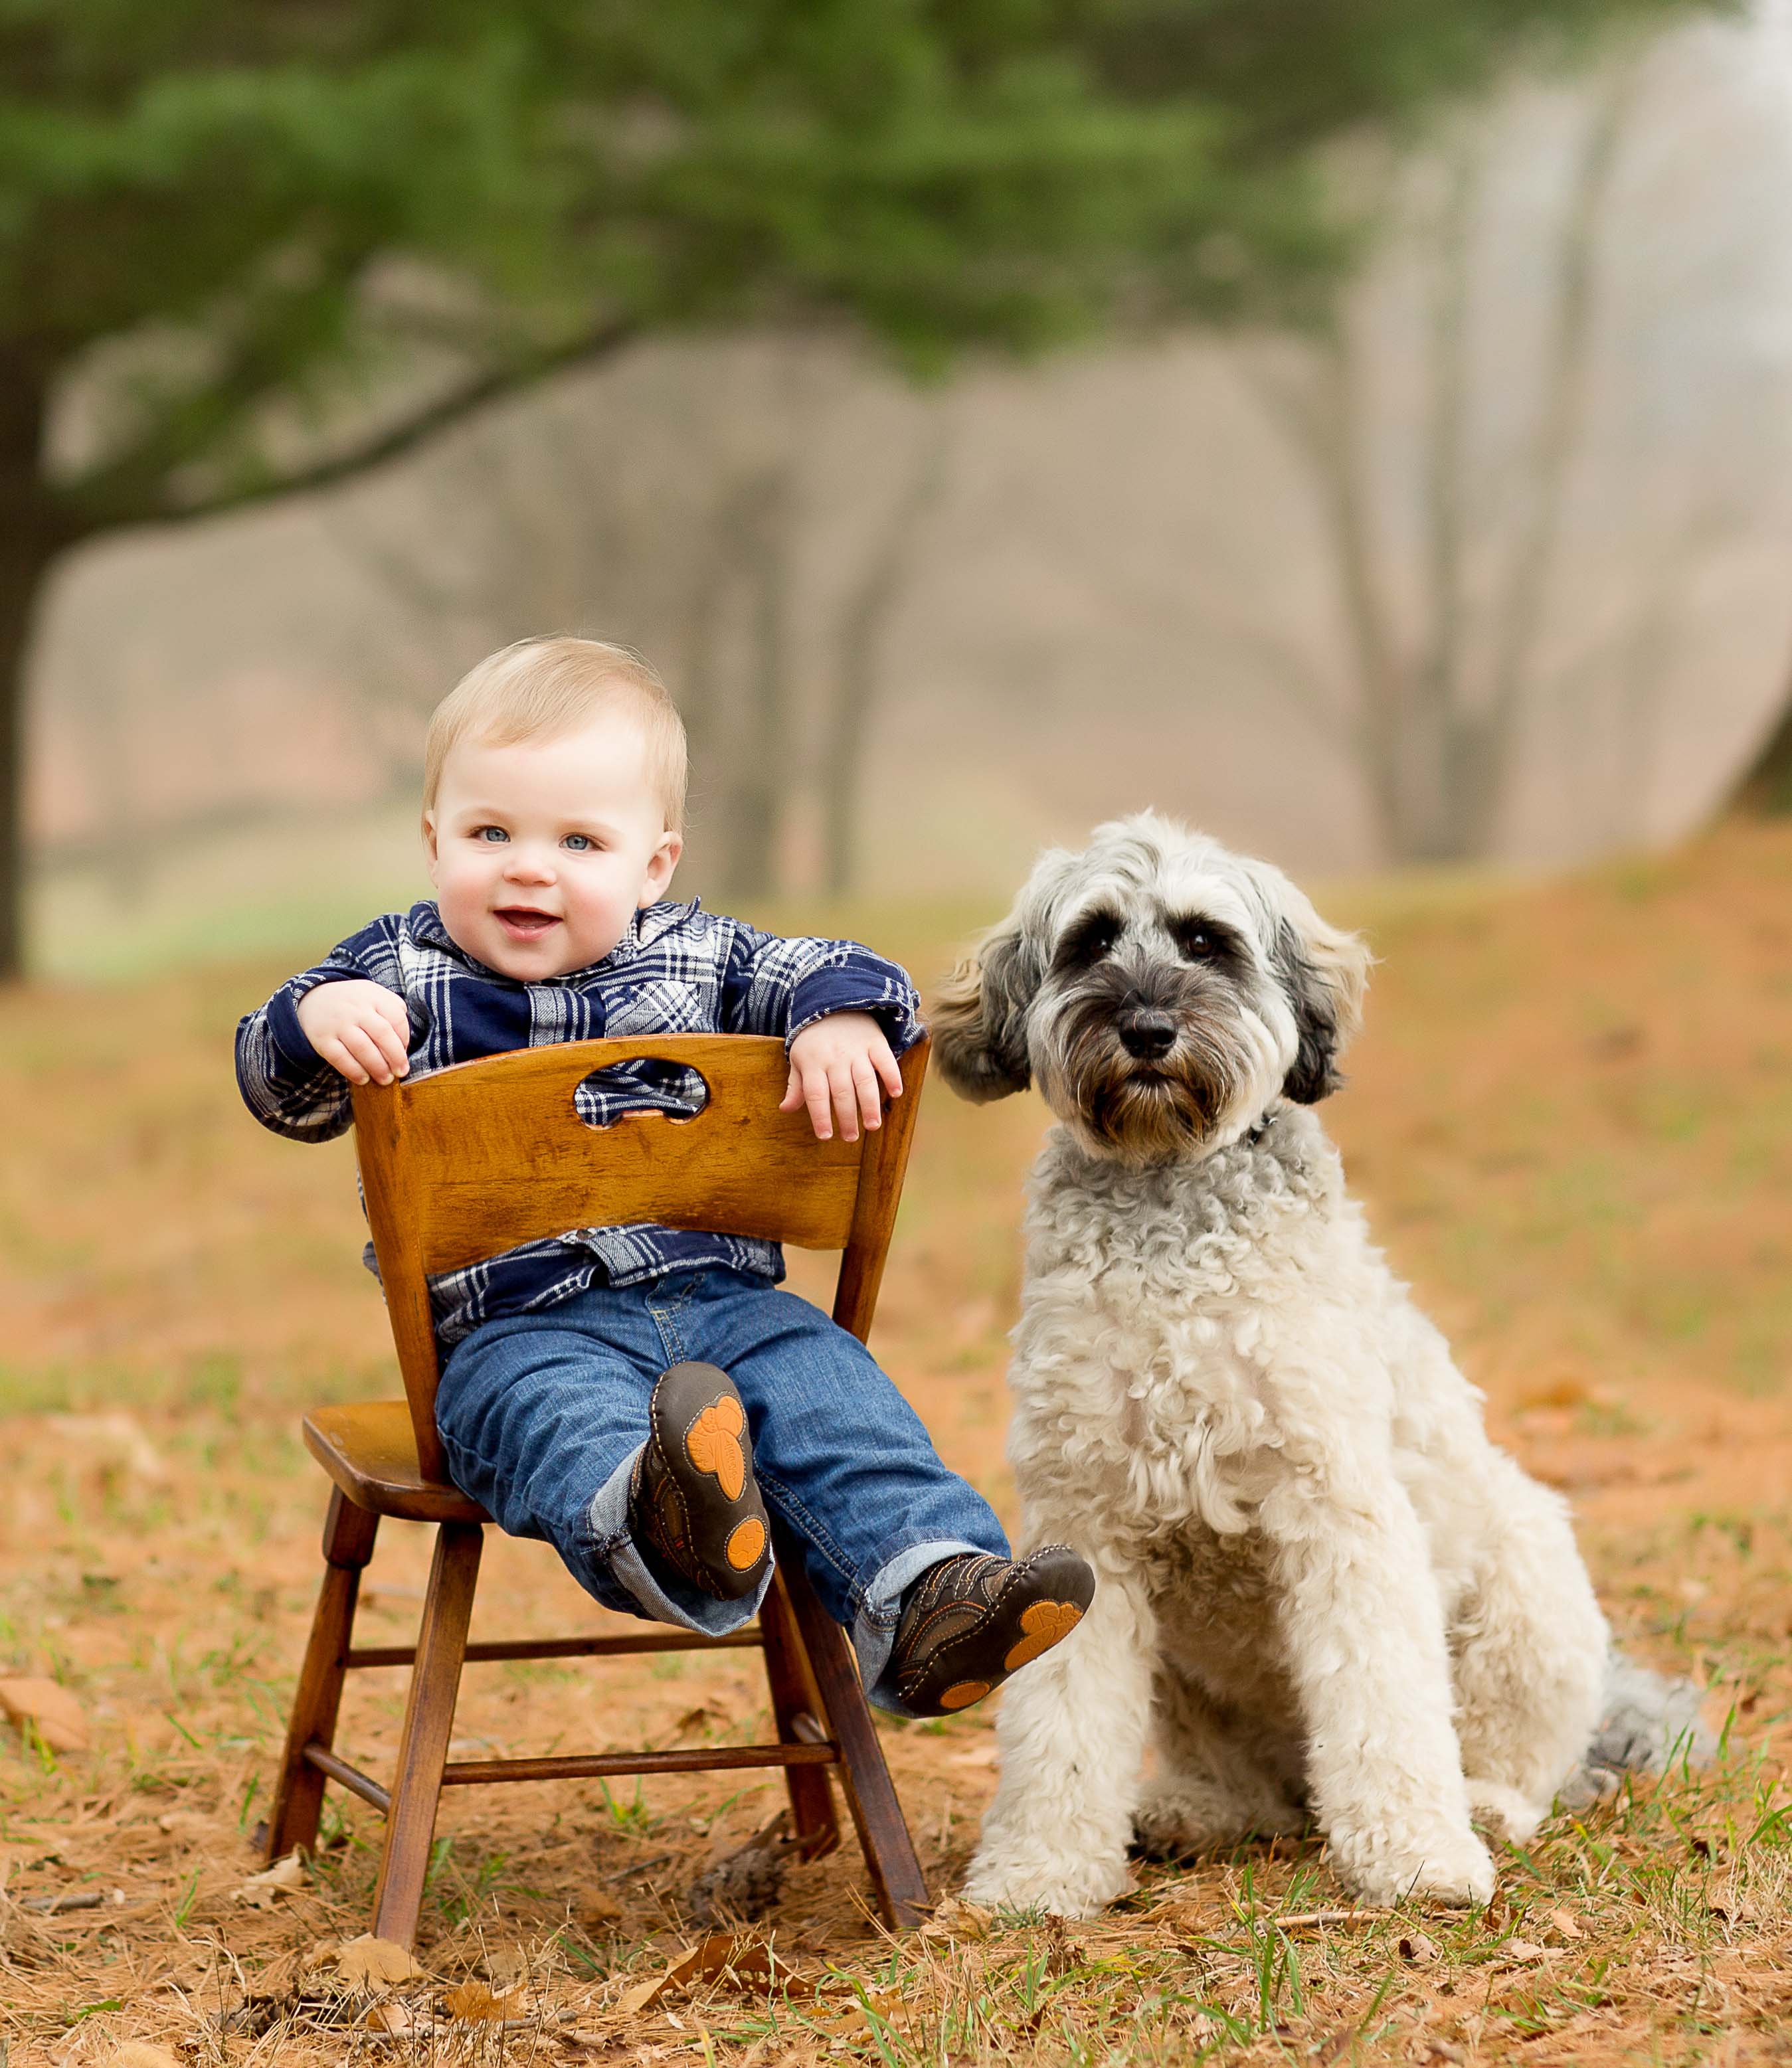
That beautiful image of the kids with the pets above is my children. And here is the behind the scenes (which happen to be some of my favorites).